PATH TO GLORY CHAPTER 2 TEST
< INDEXTest subjects:
- TRANSPORT (TAUROX, CHIMERA
- Transport vs terrain rules
- Turn-based event table
- Ruses from Blood and Zeal
TEST MISSION 1
Primary objective:
Secondary objective:
:
PROLOGUE 1 - RECON
On the barge, they drew lots to see who wanted to scout out the situation on Tignis Majoris, and you got it. The alphas took on the task of dropping you off, on an unarmed container ship with the correct imperial codes (you can take two more legionnaire specialists with you). Everything would have been fine, but when you were already descending, the Mirzhors had already started firing droppods at the planet. As a result of anti-aircraft maneuvers, you missed a little, and instead of an imperial rear base, your container fell near a fortified area. Before landing, you heard that an artillery and tank regiments of the Cadians were based somewhere nearby.
SCENARIO RULES
Pillaged supplies: Ammo crates in this killzone do not contain any loot, they are either Garbage or Booby trap (roll D6, on a 4+ it is Garbage).
PRIMARY OBJECTIVE
Escape the killzone from the enemy killzone edge.
Reward: 7BP per each player.
SECONDARY OBJECTIVE
Do not let any of friendly operatives being incapacitated.
Reward: 5BP per each player.
SECRET OBJECTIVE
Interact with 3 points of interest
Reward: 1BP per each player per point of interest.
ENEMY OPERATIVES
Initial setup: 1 IMPERIAL GUARD SERGEANT, 2 IMPERIAL GUARD GUNNERS, 3 IMPERIAL GUARD TROOPERS, 1 IMPERIAL GUARD SPECIALIST, 1 COMMISSAR, 1 KASRKIN TROOPER.
Enemy Reinforcements:
- 1-3: 2 IMPERIAL GUARD GUNNERS
- 4: 1 KASRKIN GUNNER
- 5: 2 KASRKIN TROOPERS
- 6-7: 1 KASRKIN SPECIALIST
- 8-9: 4 IMPERIAL GUARD TROOPERS
- 10: 1 IMPERIAL GUARD MEDIC
EVENT TABLE
| D6 | Effect |
| 1 | Oppressive silence: No effect |
| 2, 4, 6 | Cannonade: All operatives that are not within control range of Light or Heavy terrain feature, have -1 APL and -1 Hit stat for this turning point. |
| 3 | Enemy reinforcements: TAUROX with 2 IMPERIAL GUARD TROOPERS, 2 IMPERIAL GUARD GUNNERS and 2 IMPERIAL GUARD SPECIALISTS inside. |
| 4, 5 | Lighting shells: Treat Heavy terrain as Light terrain for purposes of determining Line of Sight. |
| 5 | Enemy reinforcements: CHIMERA with 2 IMPERIAL GUARD TROOPERS, 2 KASRKIN TROOPERS, 2 KASRKIN GUNNERS, 2 KASRKIN SPECIALISTS and 1 KASRKIN SERGEANT |
| 6+ | Normal Event table roll |
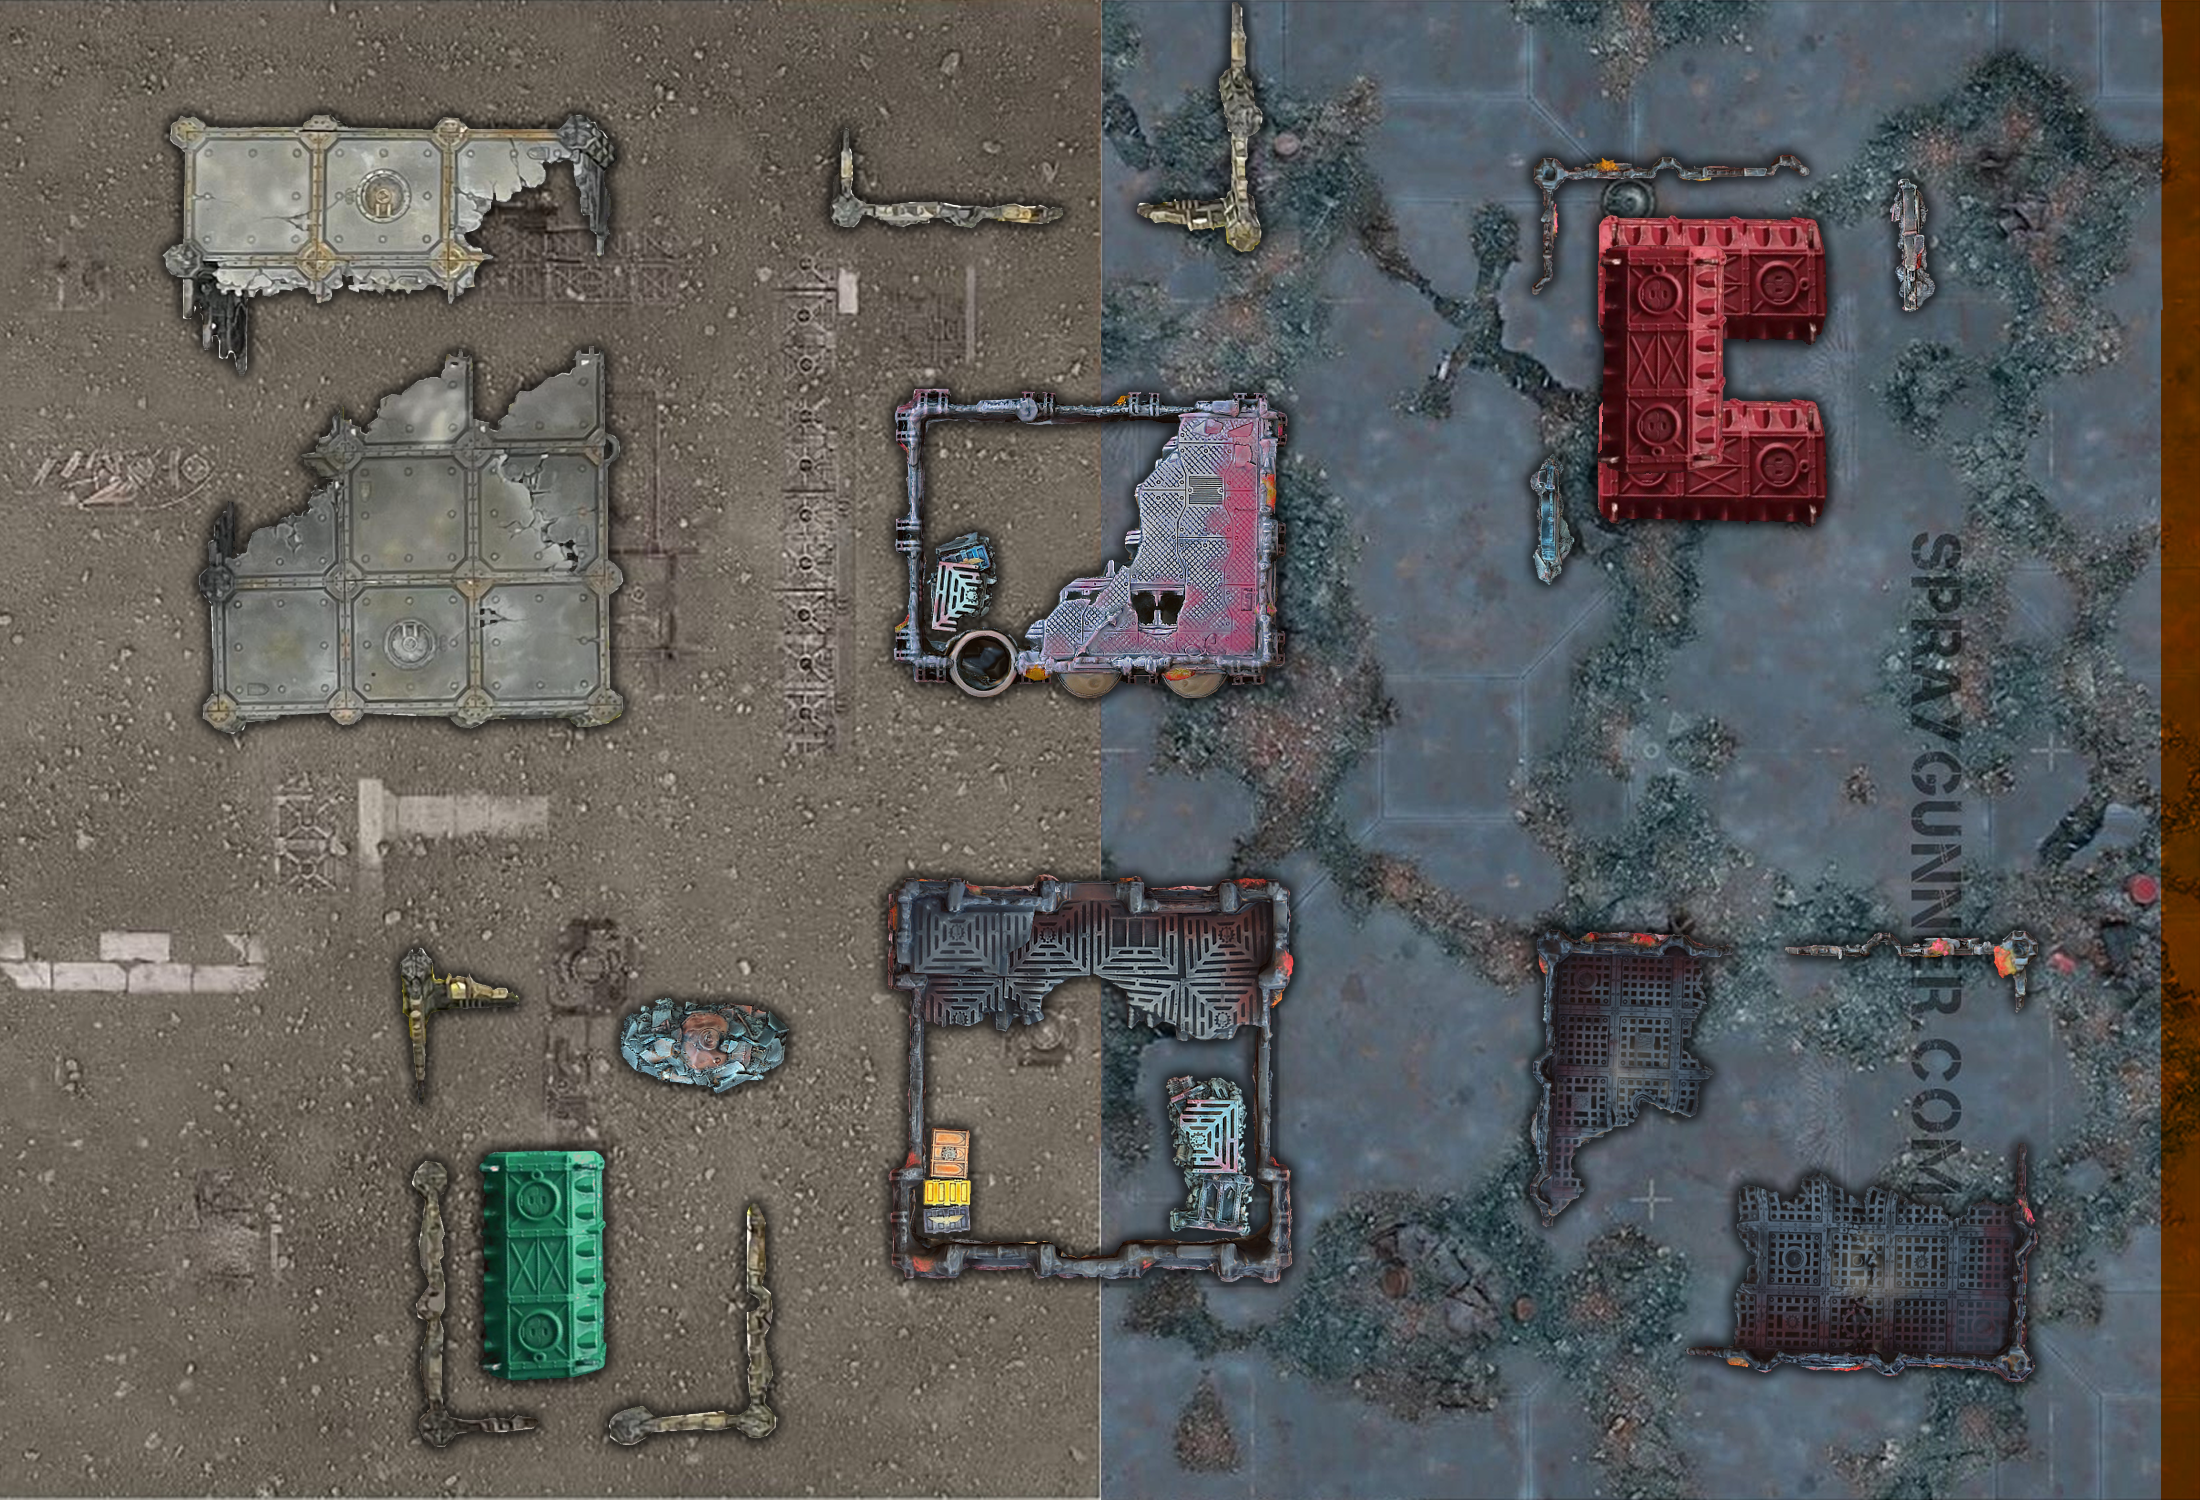
SCENARIO MAP
Double table. Use KILLZONE: VOLKUS and KILLZONE: CHALNATH. Add some STOCKADE and BUNKER terrain features. Place the scatter terrain then, including MUNITORUM CONTAINERS.
Players' drop zone within 1" of one of the MUNITORUM CONTAINERS.
TEST MISSION 2
PROLOGUE 2 - SABOTAGE SUPPLIES
As you pass further behind enemy lines, you see a bunch of crates being airdropped. Looks like a guardsmen platoon is being resupplied here. It seems to be a good idea to sabotage their supplies.
SCENARIO RULES
Pillaging Supplies: Starting from turning point 2, as enemy strategic gambit, select 3 quarters with least friendly operatives in it. Drop 4 supply crates into it. In addition, enemy operatives can interact with supply crates for this scenario, with following loot table modifications: 4, 12 - Ignored by guardsmen, 14 - Ignored by astartes, 15 - Replace Guardsman with player-controlled Traitor Militia, 18 - add 1 Guardsman with random datasheet.
In turning point 1, place 4 supply crates manually. Starting from turning point 1, as the Strategic Gambit, place 4 markers, roll a scatter dice for direction of their movement, and 2D3 for distance in inches. At the start of the next turning point (relative to the turning point in which markers were placed), repeat that procedure, and after the markers have moved for second time, replace them with supply crates. Note that these markers are non-interactive.
PRIMARY OBJECTIVE
Destroy or loot half of the supply containers in 6 turning points.
Reward: 7BP per each player.
SECONDARY OBJECTIVE
Destroy or loot 75% of the supply containers in 6 turning points.
Reward: 5BP per each player.
ENEMY OPERATIVES
Initial setup: 1 IMPERIAL GUARD SERGEANT, 1 IMPERIAL GUARD GUNNER, 4 IMPERIAL GUARD TROOPERS, 2 HEAVY WEAPONS TEAM (1 armed with Mortar, 1 armed with Missile launcher), 1 IMPERIAL GUARD SPECIALIST, 1 ARMOURED SENTINEL.
Enemy Reinforcements:
- 1-3: 2 IMPERIAL GUARD GUNNERS
- 4: 1 KASRKIN GUNNER
- 5: 2 KASRKIN TROOPERS
- 6-7: 1 KASRKIN SPECIALIST
- 8-9: 4 IMPERIAL GUARD TROOPERS
- 10: 1 IMPERIAL GUARD MEDIC
Whenever it's supposed to be Heavy reinforcements, if there is no ARMOURED SENTINEL in the killzone, add an ARMOURED SENTINEL to the Reinforcments enemies group.
EVENT TABLE
Use standard event table.
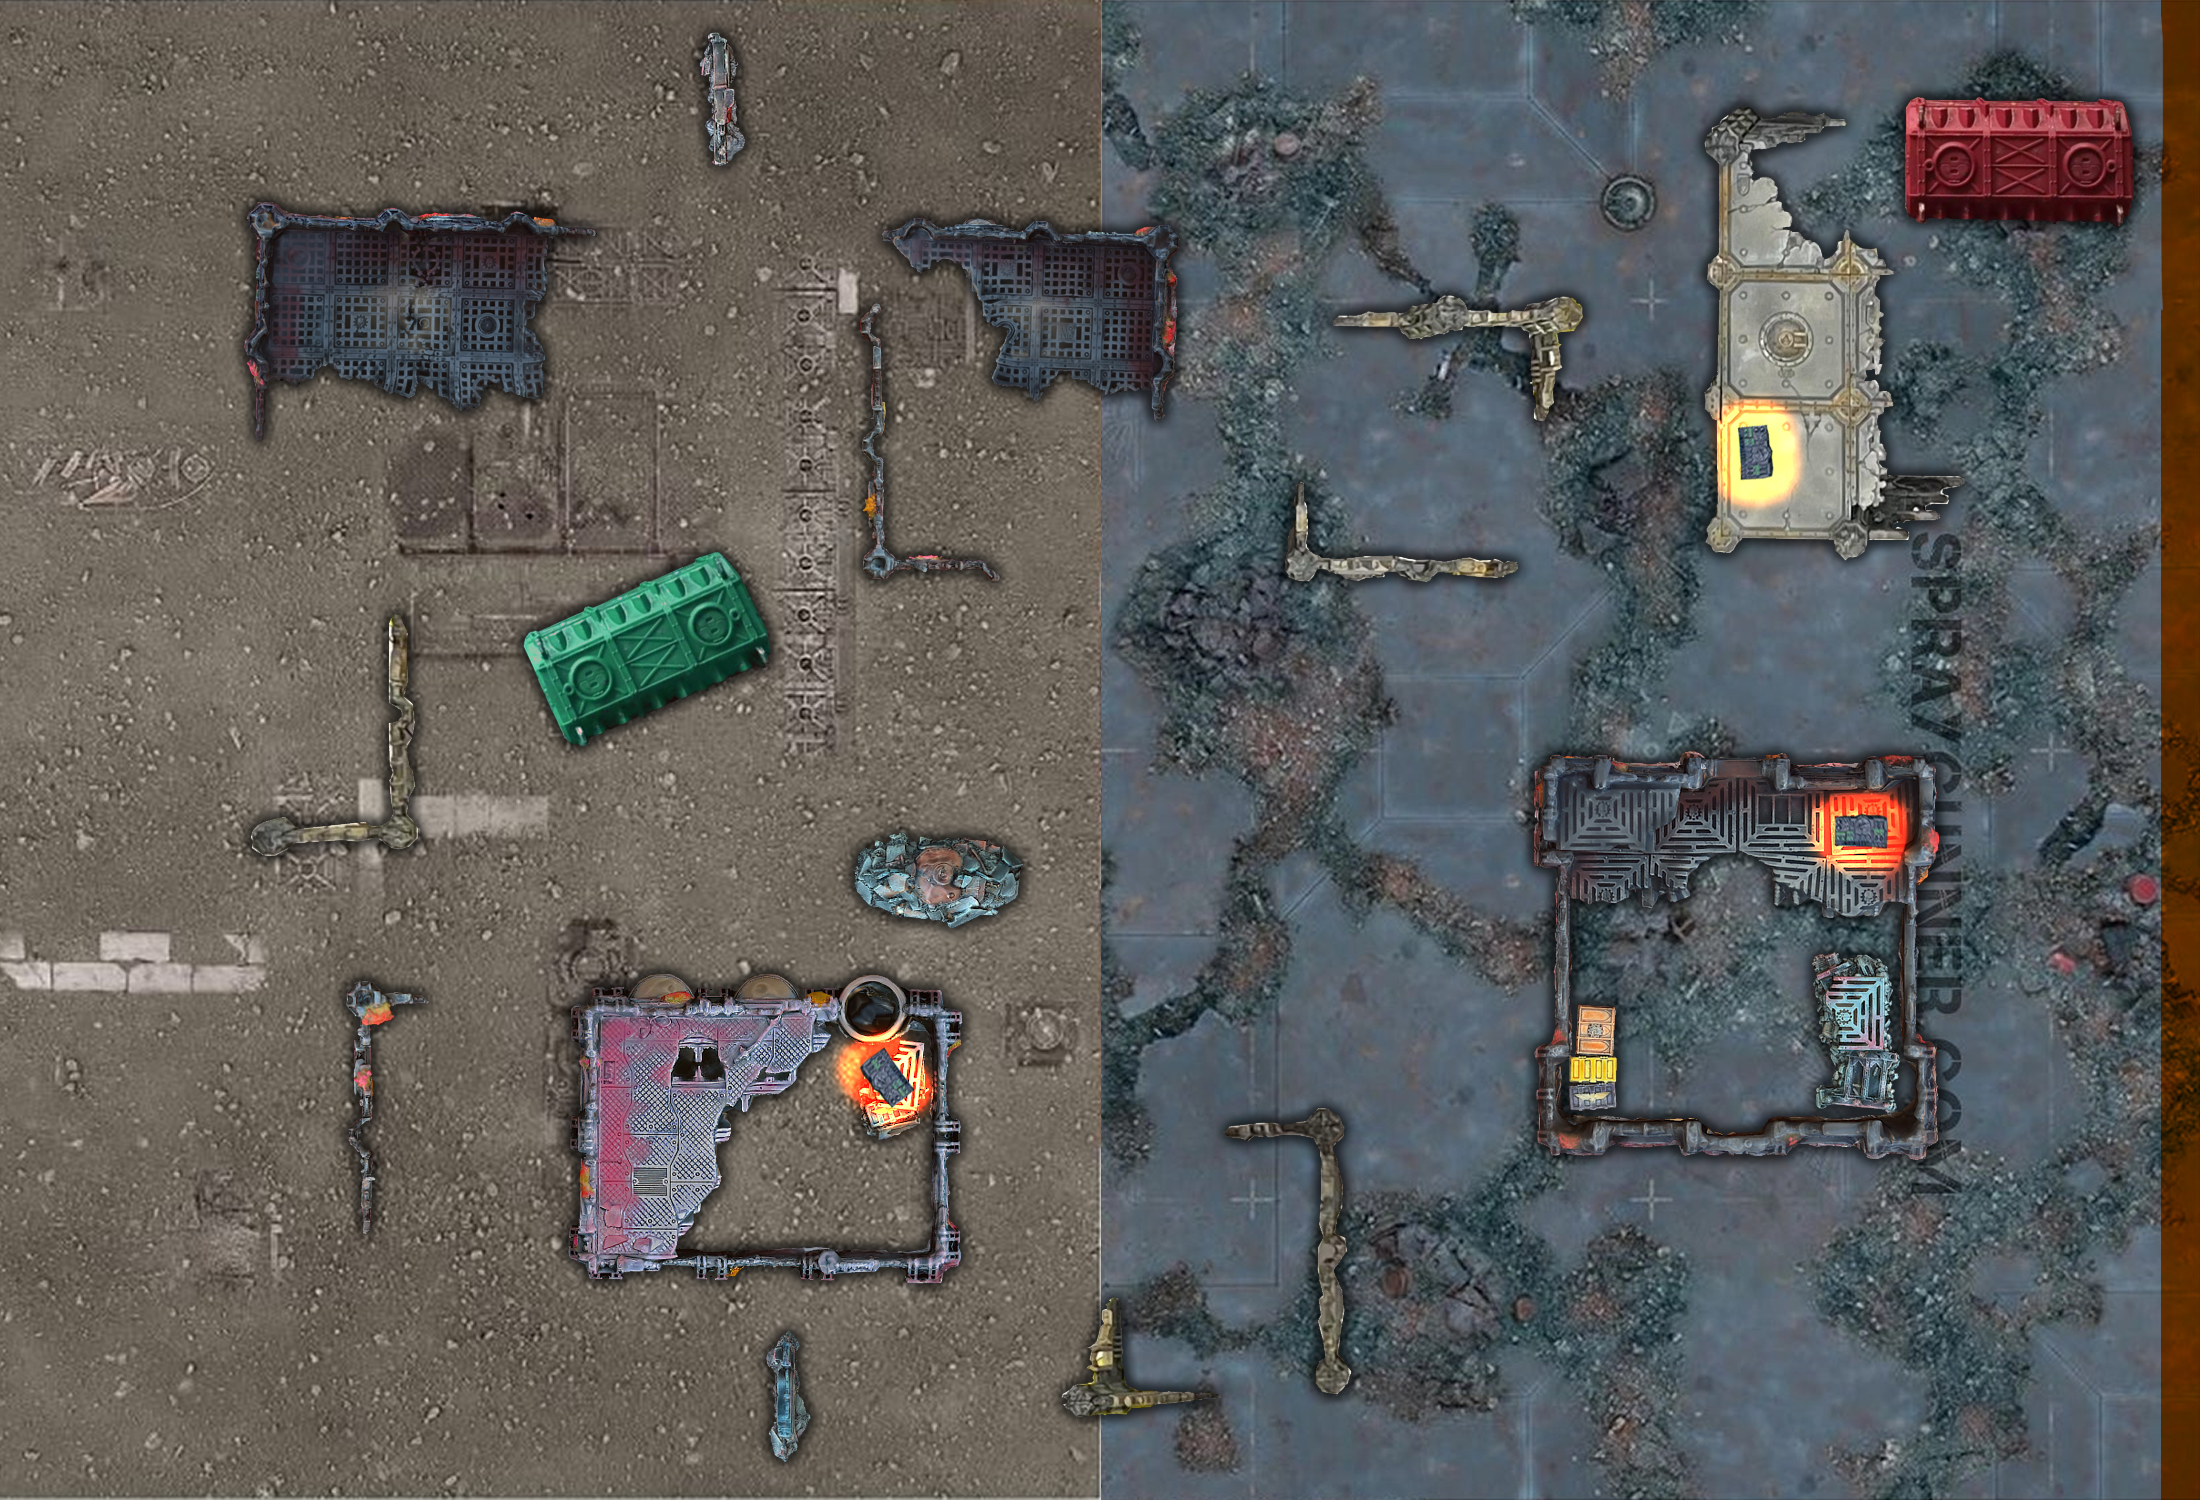
SCENARIO MAP
Double table. Use KILLZONE: VOLKUS and KILLZONE: CHALNATH. Add some STOCKADE and BUNKER terrain features. Place the scatter terrain then, including MUNITORUM CONTAINERS.
Players' drop zone within control range of one killzone edge.